Continue reading to discover simple fixes for the “the last USB device malfunctioned” error.
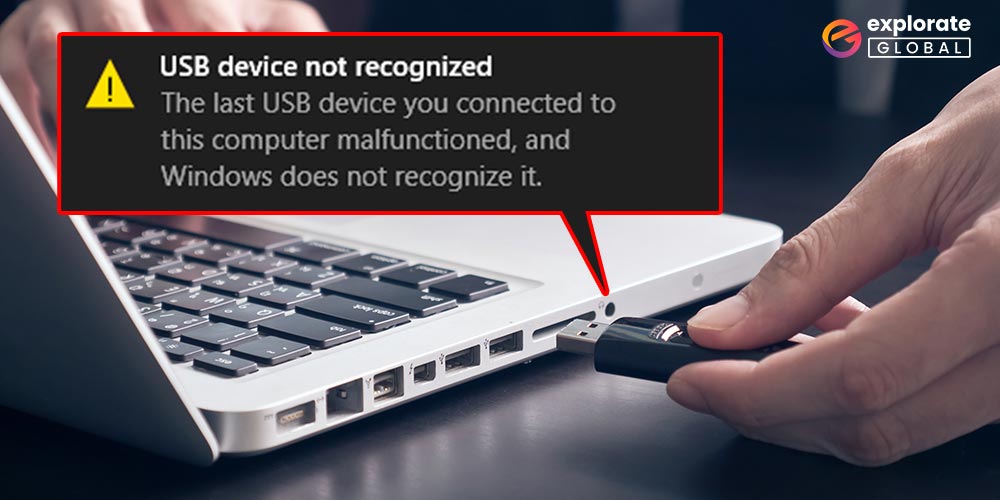
Windows users frequently get the error message “The last USB device you connected to this computer malfunctioned” while plugging in a USB. However, the term “USB” refers to any device that uses a USB port, including a keyboard, mouse, and flash drive, in addition to USB hard drives and flash drives. When Windows displays that the last USB device malfunctioned, that means you cannot connect or utilize the device on your computer.
Every computer has a unique root cause for this issue. Nevertheless, faulty USB ports, USB controller issues, and outdated, missing, or damaged USB ports are some of the more common reasons.
Whatever the reason, you may occasionally become frustrated by this issue, especially if you have an urgent task to complete. We are here to help our readers by providing a few simple fixes for the “the last USB device you connected malfunctioned error” issue.
Ways to Fix The Last USB Device You Connected to this Computer Malfunctioned Error
Many Windows users are frustrated with the last USB device malfunctioned on Windows 10 bug. If you are also one of them, then try the simple solutions listed below to fix this issue.
Solution 1: Connect the USB drive again
Sometimes simple solutions like disconnecting the drive and then connecting it again work like magic. Thus, when you encounter “the last USB device you connected to this computer malfunctioned” error, simply disconnect the drive and then reconnect it. Hopefully, this fixes the issue.
Solution 2: Try other USB port
If the above solution does not work, then here is another quick fix for “the last USB device malfunctioned Windows 10” bug. Try connecting it to your computer with another USB port.
Sometimes, frequent plugging in and plugging out makes the USB connector buggy. In such a scenario, trying a different USB port can quickly resolve the issue.
If you are using a desktop, then connect the USB device through the port at the back of your computer. This provides more power to your USB device and makes it stable.
Also know: How to solve USB C Port Not Working Issues in Windows 10/11
Solution 3: Disable the selective suspend settings
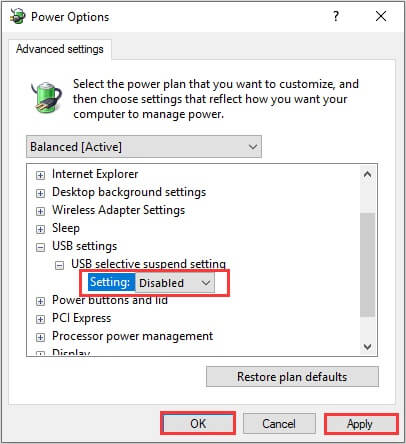
The in-built USB selective suspend functionality is enabled by default in Windows. This may be the reason why you are getting “the last USB device malfunctioned Windows 10” error. Therefore, disable the selective suspend settings. Below are the steps to do it.
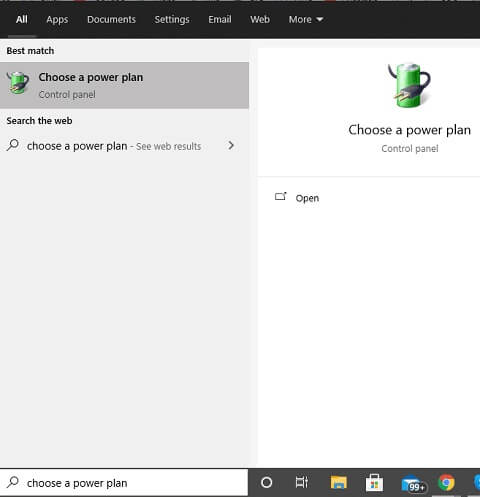
- Press Windows + S keys to open the search box
- Once the search box opens, type Power
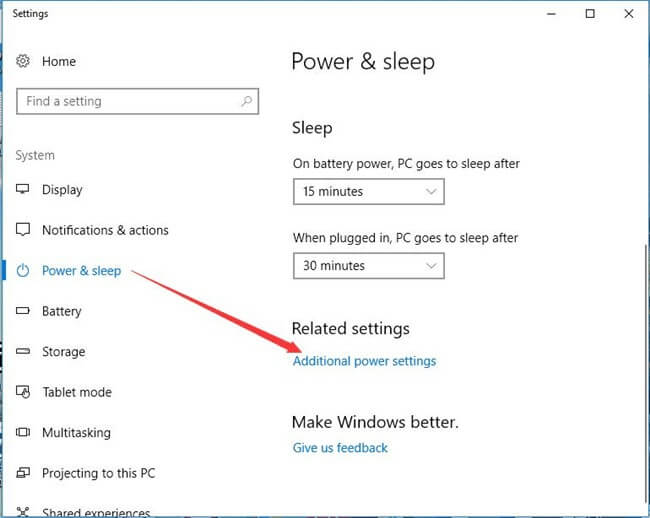
- Open Power & sleep settings from the search results
- After the power and sleep window opens, select Additional Power Settings
- Click on Change plan settings present next to your current power plan
- Once the edit plan settings window appears, click on Change advanced power settings
- Locate and click on USB settings
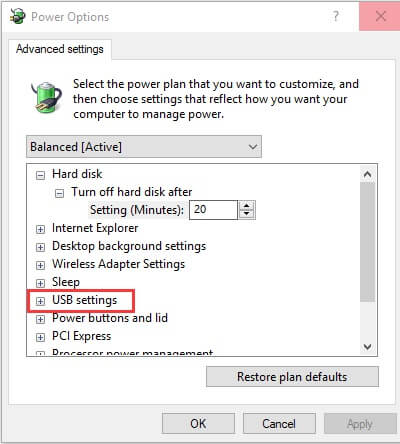
- Once the USB settings expand, disable the USB selective suspend setting
- Lastly, click on OK and Apply.
After following the above steps, restart your computer to see whether “the last USB device malfunctioned Windows 10” error has vanished or not. If not, then try the other fixes listed below.
Solution 4: Fix the USB root hub
Repairing the USB root hub can also resolve ‘the last USB device you connected malfunctioned” error. Here are the steps to fix the USB root hub.
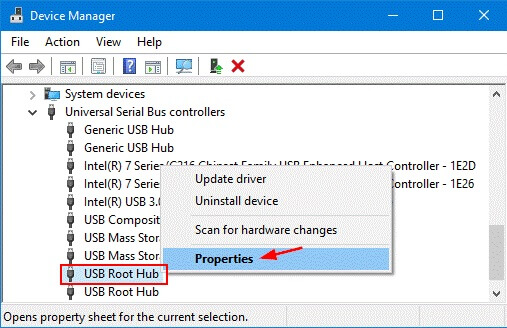
- Press Windows + R on your keyboard and type devmgmt.msc to open Device Manager
- Once the Device Manager opens, locate and expand the Universal Serial Bus Controllers category
- Right-click on the USB Root Hub option and select Properties from the menu that appears
- Open the Power Management tab and unmark the “Allow the computer to turn off this device to save power” option
- Lastly, click on OK to save the changes.
After you complete all the above steps, try to reconnect the USB device.
Solution 5: Disconnect the power supply
This is another quick and simple way to get rid of “the last USB device you connected to this computer malfunctioned” error. Below are the steps to remove the power supply.
- Unplug the power supply plug
- Restart your computer
- Connect the USB device to your Windows PC using any of the USB ports
- Once the USB device gets connected to your PC, plug in the power supply.
Four steps, and you are done. Isn’t this the easiest way to solve the “the last USB device malfunctioned” issue? In our view, it is.
Solution 6: Update the Device Drivers
Outdated, missing, or faulty device drivers may also be the reason for which you are getting “the last USB you connected to this computer malfunctioned” error. Therefore, when none of the above solutions work for you, the ultimate way to fix this issue is to update all the possible device drivers.
There are numerous ways to update the drivers, such as manual updates via Device Manager and downloading the latest driver from the hardware manufacturer’s website.
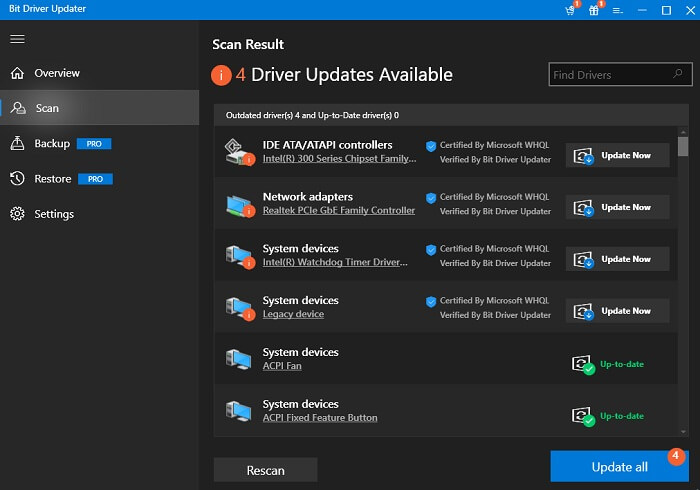
But these ways might be tough for newbies and non-techies. Further, they are also time-consuming and tiring. Therefore, we suggest you install the Bit Driver Updater. It automatically scans for and updates all the corrupt, outdated, and missing drivers on your device. In addition to this, here’s what else it does for you.
- Speed up the PC and optimize its performance
- Saves your valuable time as you are not required to go on a driver’s hunt
- Updates all the drivers in a single click and makes your PC work like a brand-spanking new model again.

Therefore once you get Bit Driver Updater, errors such as “the last USB device malfunctioned” won’t trouble you anymore.
Fixed: The Last USB Device You Connected To This Computer Malfunctioned Error
These are a few easy fixes for “the last USB device you connected to this computer malfunctioned” problem. Hopefully, these solutions helped you to fix the problem and spared you the time of running to the technician. Please let us know if you find this content useful or not in the comment section below. Before you leave, sign up for our email to receive updates, and additional tech problem fixes.
