Every Mac comes with an integrated screenshots and screen recording tool for the ease of users. Read about How to screenshot and capture screen on Mac.
A lot of users like to take screenshots for information and record screens to create tutorials, informative videos, and more. In this article, we are going to explain how to take screenshots and record your screen on Mac. We will list all the mac shortcuts for screenshots and recording the screen. With the help of this tutorial, beginners and professionals can record the screen as well as take screenshots whenever they want. Go through the complete article for know-how.
How to Take Screenshots And Record Your Screen On Mac Using Shortcuts
Every macOS has an integrated tool to record videos or capture screenshots on MacBook Pro and other devices. The tool is very easy to use and provides basic editing features for the captured files. Let’s have a look at how to take a screenshot on Mac and then move on to record video on Mac.
How to Take Screenshot on Mac

One of the most commonly asked questions is how to take screenshot on Mac. It is very easy to take a screenshot on the device. Any kind of user can do this by following these simple steps:
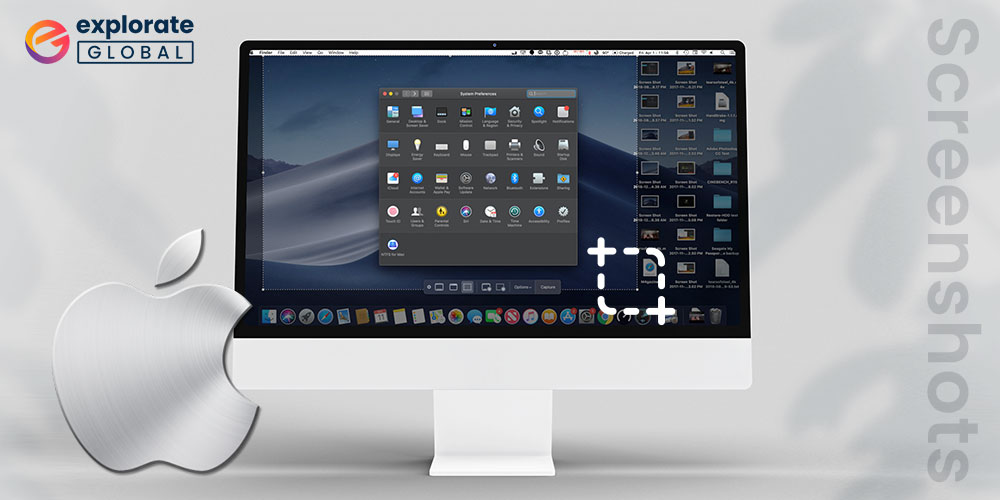
Step 1: To take the screenshot on Mac, press ‘Shift+Command+5’ on your keyboard.
Step 2: From the toolbar, select any one of the options you like according to your screenshot preferences. The Screenshot options include the following heads:
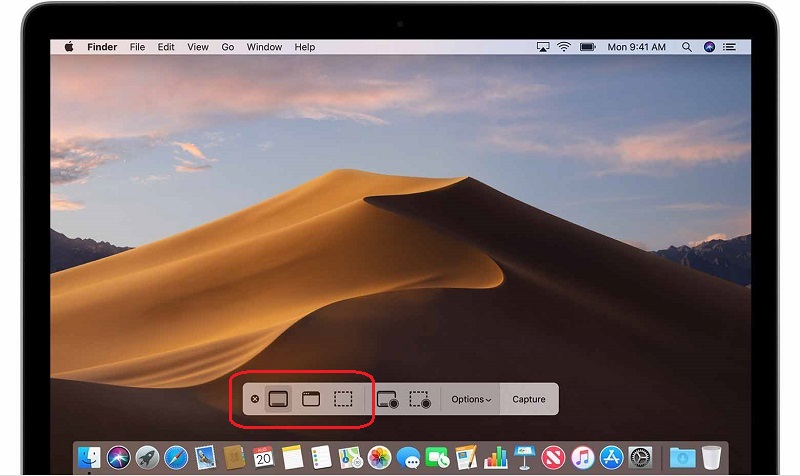
- Capture Selected Portion ()- Select this option to capture any particular portion of the screen
- Capture Selected Windows ()- Select this option to capture the currently opened Window
- Capture Entire Screen ()- Select this option to capture the whole screen of the Mac
Note: If you select the ‘Capture Entire Screen’ option, the tool will take a screenshot immediately and if you select one of the other options, the tool will provide an option to select the desired area and then capture the screenshot as soon as the user leaves the click.
Step 3: On the screenshot that appears in the bottom right corner, use any from ‘Right Click’, ‘Ctrl+Click’, or ‘Two-finger click’ to open it.
Step 4: With the help of the menu, delete, save, share, or edit the screenshot as you like.
Follow these steps to print the screen of Mac easily and quickly.
Also know: How to Take Screenshot on Dell Laptop (Windows)
How to Record the Screen on Mac
Now that the process to capture screenshots is clear, let’s have a look at the process for screen recording on Mac with audio. Any user can follow these simple steps to record the screen:
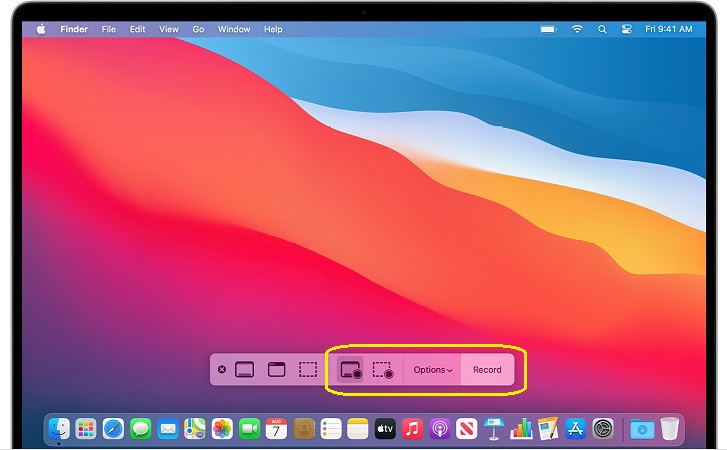
Step 1: To make the Mac screen recording toolbar appear, press ‘Shift+Command+5’ on your keyboard.
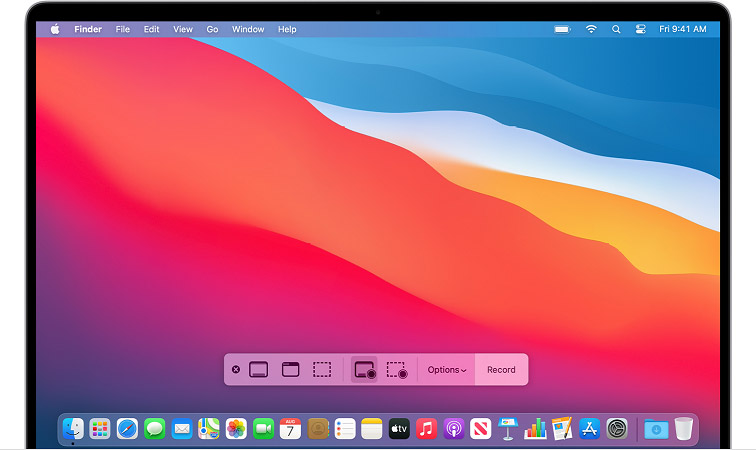
Step 2: From the toolbar, select any one of the options you like according to your screen recording preferences. The options include the following heads:
- Record Selected Portion ()- Select this option to record any particular portion of the screen
- Record Entire Screen ()- Select this option to record the whole screen of the Mac
Note: If you select the ‘Record Entire Screen’ option, the tool will start recording the screen immediately and if you select the other option, the tool will provide an option to select the desired area, after selection click on the ‘Record’ button to start the recording.
Step 3: When the recording is complete, click on the ‘Stop’ button in the menu bar appearing on the top to finish recording.
Step 4: On the recording that appears in the bottom right corner, use any from ‘Right Click’, ‘Ctrl+Click’, or ‘Two-finger click’ to open it.
Step 5: With the help of the menu, delete, save, share, or edit the recording as you like.
The above-detailed steps will help in recording the screen of the Mac effectively. For further details, check out the most commonly asked questions answered below.
Also know: Best Mac optimizers Software
FAQs – Take Screenshots and Record Screen On Mac
Q1. How can I change the default saving location of the screenshots and screen recordings in Mac?
Just like the screen capturing process, the process to change the default saving location is very easy. Follow these steps to change the location:
- Run the screenshot and screen recording tool by pressing ‘Command+Shift+5’
- Click on ‘Options’
- Select from the wide range of location that appears to change the default file saving location of screenshots and screen recordings
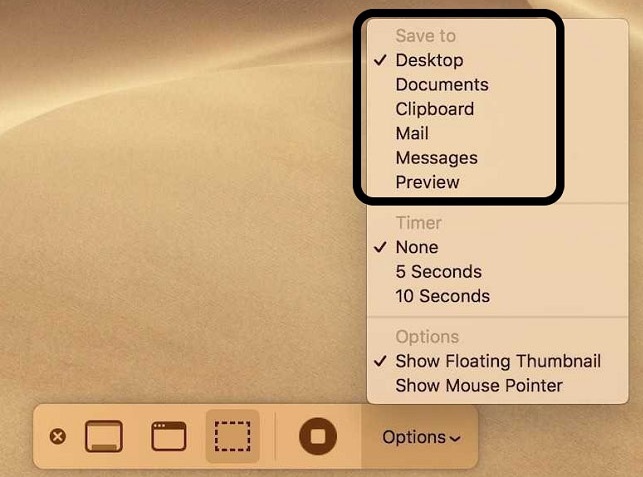
These steps will change the default file saving location of the screen recordings in a snap.
Q2. Can I set a timer on screenshots and screen recording in Mac?
The timer is a very important aspect of every screen capturing tool. Hence the creators of Mac have included an option to schedule the timer to capture the screen. With the help of the following steps, any user can set a timer on screen capturing in Mac:
- Run the screenshot and screen recording tool by pressing ‘Command+Shift+5’
- Click on ‘Options’
- Click on ‘5 Seconds’ or ‘10 Seconds’ from the drop-down menu under ‘Timer’ to set the desired time to capture the screen on Mac.
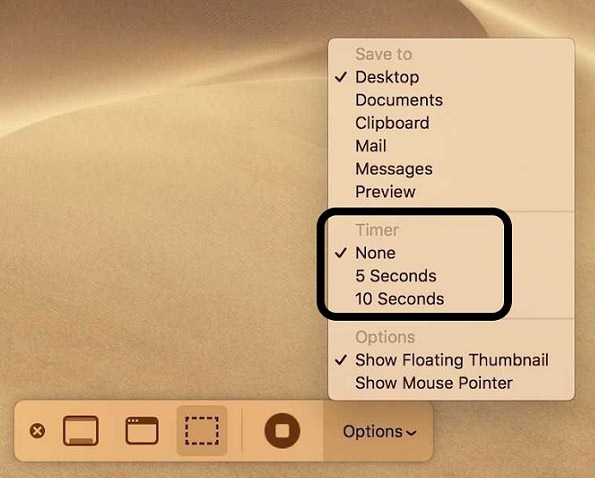
Follow these easy steps to set a timer before recording or capturing the screen in no time.
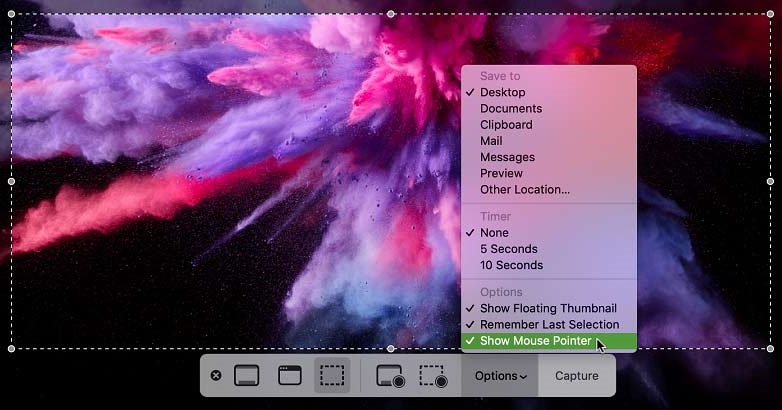
Q3. Can I enable a mouse pointer while screen recording in Mac?
Yes, any user can enable mouse pointer viability by following these easy steps:
- Run the screenshot and screen recording tool by pressing ‘Command+Shift+5’
- Click on ‘Options’
- Click on ‘Show Mouse Pointer’ in the drop-down menu that appears.
Q4. What is the process to edit a screenshot captured on Mac?
The following steps will help every user in editing the screenshot captured on the Mac:
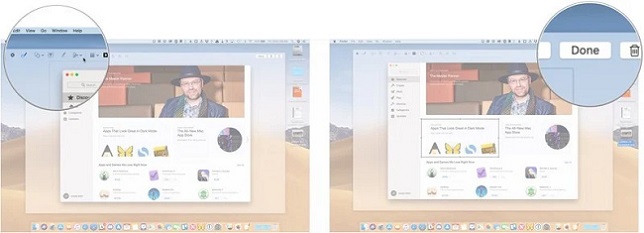
- After capturing a screenshot, check the screenshot that appears in the bottom right corner, use any from ‘Right Click’, ‘Ctrl+Click’, or ‘Two-finger click’ to open it.
- From the drop-down menu that appears, click on ‘Markup’
- A toolbar will appear which will help the user to insert text, add images, objects, and many more, highlight a part, sign the image, rotate, and perform many other edits on the screenshot.
- After making the desired edits, click on ‘Done’ to save it.
Q5. Can I trim a screen recording captured on Mac?
Yes, the versatility of the screen capturing tool in Mac allows the user to trim the screen recording very easily. Follow these steps to perform the edit:
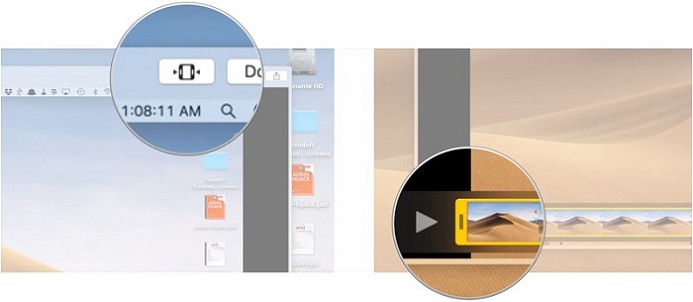
- After capturing a screen recording, check the video that appears in the bottom right corner, use any from ‘Right Click’, ‘Ctrl+Click’, or ‘Two-finger click’ to open it.
- From the drop-down menu that appears, click on ‘Markup’
- Click on ‘Trim’ from the drop-down menu that appears
- Move the cursor on the video bar to trim it to the desired lengths.
- After making the desired edits, click on ‘Done’ to save it..
Also know: Best Free Snipping Tools for Windows 10, 11
Take Screenshots And Record Your Screen On Mac Easily
Above, we have provided a thorough process to work with the integrated screenshot capturing tool. The tool can record the screen as well as capture a screenshot of MacBooks and other macOS-based devices. Everything, from taking the captures to editing them, is explained for the ease of Mac users. These methods can be very useful for individuals whose work requires regular capturing of the screen as well as screen capturing enthusiasts. The Mac screen capture command will quickly launch the capturing tool and provide all the power in your hands.
