
The issue with the HyperX Cloud Stinger mic not working is simple to fix. Continue reading to learn how to do it.
Since no gamer could imagine playing a game without those exhilarating sounds, headsets have evolved into a necessary piece of gaming equipment. HyperX Cloud Stinger is one of the best gaming microphones available today. Because of its low price, comfort, superior noise cancellation, clear sound quality, and other features, it is a favorite among streamers and gamers alike. However, some unfortunate individuals are currently dealing with a frustrating issue because the HyperX Cloud Stinger microphone is not functioning. This typewritten note is for you if you are a member of their clan as well.
In this article, we share the simplest ways to fix the issues if the HyperX Cloud Stinger Core mic is not working.
However, before doing that, let’s first address a concern that the majority of readers have, namely, “Why is my HyperX mic not working?” However, if you’d rather skip over that information and get to the solutions right away, you can look at the most highly recommended fix shared below.
Why is the HyperX Cloud Stinger Mic not Working
There could be many reasons why your Cloud Stinger mic is not working. We are listing the most common ones below.
- The headsets are on mute.
- You have not enabled the mic.
- Audio drivers are outdated, corrupt, or missing.
- HyperX Cloud Stinger is not your default device.
Above were some of the reasons rendering the HyperX Cloud Stinger mic dysfunctional. Now, we are going to share how to fix the issue in seconds.
Solutions for the HyperX Cloud Stinger Mic Not Working Problem
Below are the two-minute workarounds that you can try to fix the issues if your HyperX Cloud Stinger mic is not working. First, make sure the microphone is plugged in properly, then move ahead with these solutions if it still does not work.
Solution 1: Enable the Mic
If the headset is disabled, then it certainly won’t work. Therefore, if your HyperX Cloud Stinger mic is not working, check whether it is enabled or not. If not, then enable it. Below, we share the steps for doing the same.
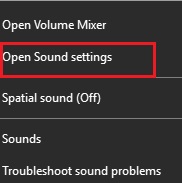
- Right-click on the speaker icon and choose “Open sound settings” from the small context menu.
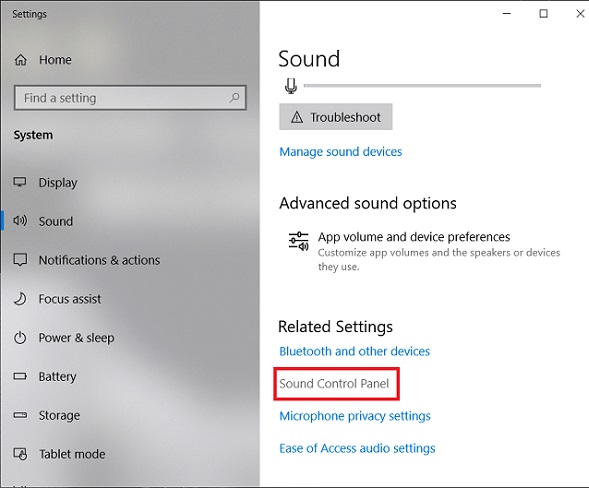
- After the sound settings come up, select “Sound Control Panel” from the Related Settings.
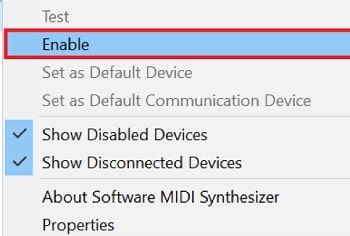
- Now, right-click on the HyperX Cloud Stinger mic and select “Enable” from the available options.
- Lastly, click on the “OK” button.
Must Read: How to Update Audio Drivers on Windows PC
Solution 2: Set the Microphone as Default
If the HyperX Cloud Stinger mic is not working correctly on your PC, then making it the default microphone can fix the problem. Follow the steps shared below to do it.
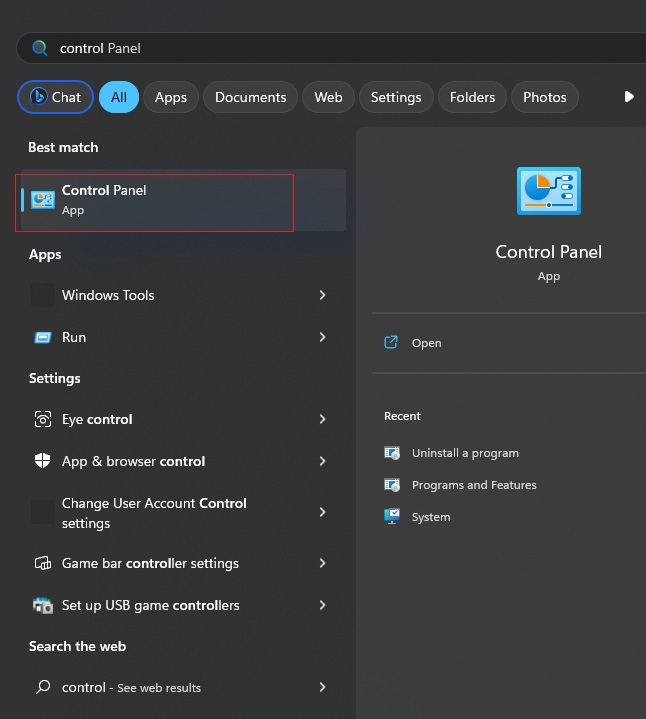
- In the search box of Windows, type “Control Panel” and select the first result.
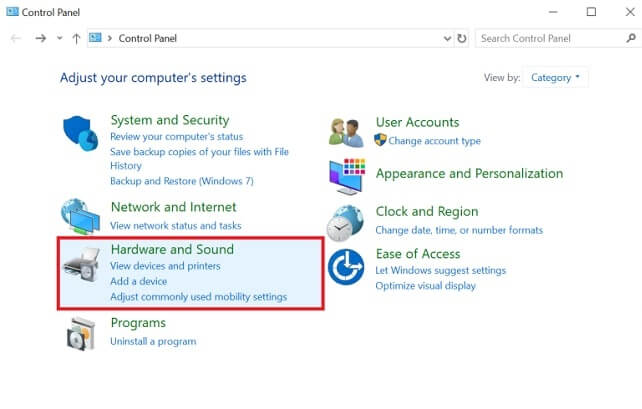
- After the Control Panel opens, select “Hardware and Sound” from the on-screen menu.
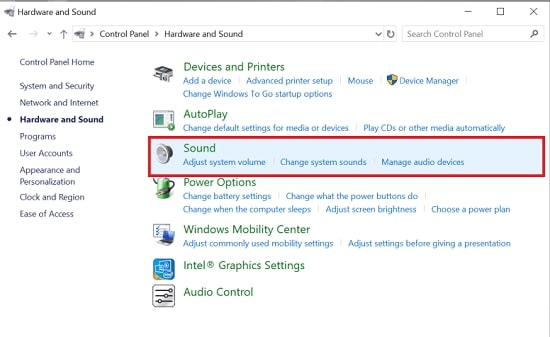
- When the Hardware and Sound window appears, choose “Sound” from the list of options visible on your screen.
- Select the HyperX Cloud Stinger mic and click on the “Set Default” button.
- Lastly, click on the “OK” option.
Solution 3: Unmute the Microphone
It is impossible to hear sound from a muted microphone. Therefore, if the HyperX Cloud Stinger Core mic is not working on your PC, then make sure that it is not muted. Follow the following steps to do the same.
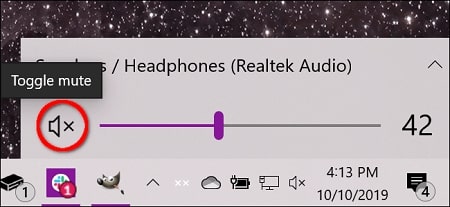
- Click on the speaker icon.
- Check whether the toggle to mute the microphone is on or off.
- If the mute toggle is on, then click on it to turn it off.
Also read: How to Resolve Microphone Not Working on Windows 10
Solution 4: Perform the Windows Update
Sometimes, updating Windows solves many problems, such as the HyperX Cloud Stinger mic not working. Therefore, you can also try updating the operating system. Follow these directions to do it.
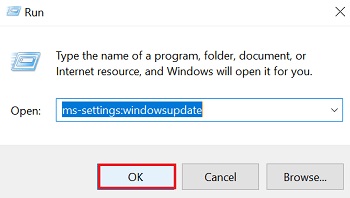
- Call up the Run dialog box by pressing the Windows and R keys at once.
- After it opens, input the “ms-settings: windowsupdate” command and click “OK.”
- Wait for the Windows Update screen to pop up. After it appears, click on the “Check for updates” option.

- After Windows finds an update for your operating system, click on the “Download” button to begin its downloading and installation process.
- Restart your computer after the update process is complete.
Solution 5: Check for physical damages
Sometimes, the reason your HyperX Cloud Stinger mic is not detected may not at all be software related. The headset’s cord may be physically damaged, making it dysfunctional. Therefore, check it for signs of physical damage, such as twisting, bending, or pinching. If you see any of these, then you can get a new cord to make the mic work.
Also know: Free Audio Sound Equalizer For Windows 10
Solved: HyperX Cloud Stinger Mic Not Working
We tried to solve one of the most annoying technological issues—the HyperX Cloud Stinger mic not working—through this article. In our opinion, using Bit Driver Updater to update drivers is the best way to resolve this annoying issue and all other problems.
However, enlighten us in the comments if you are aware of any better solutions. We will soon post fixes for yet another annoying technological problem. Therefore, sign up for our newsletter to receive notifications of the same.