

Updating the Windows operating system is one of the most used hacks to fix various errors on Windows 10. However, what if you face an error while installing the latest version of Windows itself? Yes, some issues can cause operating system installation failure. 0xc1900101 error in Windows 10 is one such glitch.
Many users of Windows 10 1903 and 1809 versions have faced this issue. If you are also one of them, then don’t panic. It is not that difficult to resolve the Windows 10 1903 0xc1900101 error, or we can also say the Windows 0xc1900101 1809 version update error. We have brought some fixes you can rely on.
Methods to Fix 0xc1900101 Error in Windows 10
Method 1: Remove The Extra RAM
If you have installed an extra RAM on your computer, then we advise you to remove it. Sometimes, the additional RAM can cause the 0xc1900101 issue while updating the Windows. Hence, try installing the update after removing the extra RAM.
Just like RAM, try to update Windows after ejecting the network card as well. This trick has also worked for various users.
Method 2: Use System File Checker and DISM Commands
Along with the foul drivers, wrong system files are also a reason for many PC issues. Hence, we recommend you to repair your system files to resolve the Windows Update 0xc1900101 problem. You can use the below-mentioned instructions to do so.
- Go to the Windows search box and type ‘Command Prompt’.
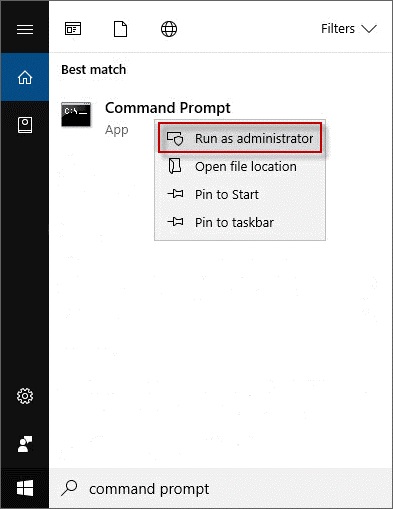
- Make the Command Prompt run as administrator.
- Provide ‘sfc /scannow’ command and hit the Enter key.
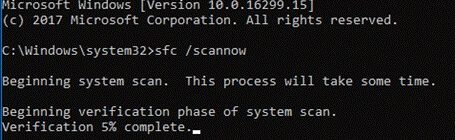
- Be patient for a couple of minutes.
- Provide ‘DISM.exe /Online /Cleanup-image /Scanhealth’ command and select the Enter key on your keyboard.
- Now, provide ‘DISM.exe /Online /Cleanup-image /Restorehealth’ command and select the Enter key again.
- After the cleanup gets complete, reboot the computer and try installing the latest version of the operating system. Check if it still shows the 0xc1900101 error in Windows 10.
Method 3: Try Updating BIOS
If you don’t have any idea about BIOS, then don’t worry. Most people do not know about it. The term BIOS is an acronym for Basic Input/Output System. It is a firmware, that helps your system to boot and perform a hardware initialization. Any issue with your PC’s BIOS can also result in the ‘Windows failed to install 0xc1900101 error’. But do not panic, you can fix it quite easily by using some reliable software to update BIOS on Windows 10.
At the same time, if you are a computer expert, then you can also try repairing it manually. You can directly download the latest version of BIOS from the PC manufacturer’s software support page and install it on your computer. Here are the steps that you require to follow for repairing and upgrading your PC’s BIOS.
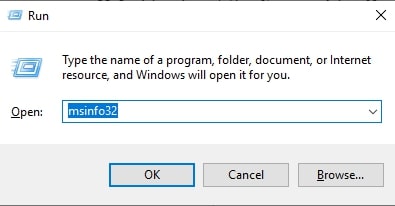
- Use Windows Key and R to open the Run utility.
- Copy and paste ‘msinfo32’ and then choose OK.
- Check and note your BIOS Version/Date.

- After this, go to the software and driver support of your PC manufacturer.
- Look for an appropriate BIOS update and download it on your PC.
- Appropriately install the update.
- Then, after repairing the BIOS, restart the Windows PC.
- Check if BIOS repair has resolved the issue by updating the Windows.
However, we would like to advise you that you should have a backup of your important data before following the above method.
Method 4: Remove Unnecessary External Devices
External Devices can also cause several problems on Windows PC. One such issue is the 0xc1900101 error in Windows 10. So, you can try removing the unnecessary external devices from your PC. Kindly leave the keyboard and mouse as they are quite important for a computer.
Now, go to the Windows Settings and try installing the latest update for your Windows operating system. After updating the Windows, you can connect the removed devices back to your PC and use them again.
Method 5: Clean Boot
Just like unnecessary devices, you should also try removing the unnecessary drivers and then clean boot the PC to resolve the failure to install the Windows update issue. Here is how you can try this method.
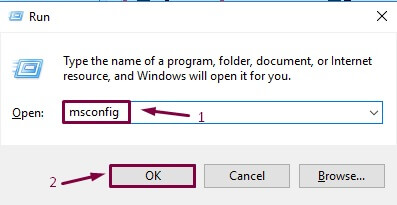
- Use Windows Key and R to open the Run utility.
- Copy and paste ‘msconfig’ and then choose OK.
- Select Services.
- Mark Hide all Microsoft services.
- Choose Disable All.
- Then select Startup.
- Click on Open Task Manager.
- Select the programs and utilities, that are not unnecessary and unwanted.
- Now choose Disable.
- Shut the Task Manager.
- In System Configuration select Apply and then OK.
- Reboot the system.
- Try to update the Windows operating system and check if the problem of update failure still prevails or got resolved.
Also know: How to Solve 0x80073712 Error in Windows 10
Fixed 0xC1900101 Error When Installing Windows:
We hope that you have fixed the 0xc1900101 error in Windows 10 by using any of the above-provided methods. Along with the 0xc1900101 error, you can resolve various other PC issues as well with these solutions.
However, if we have missed some important information in this write-up, then please let us know. We’ll be glad to hear suggestions from you. Furthermore, for fixes of more errors, subscribe to our blog.